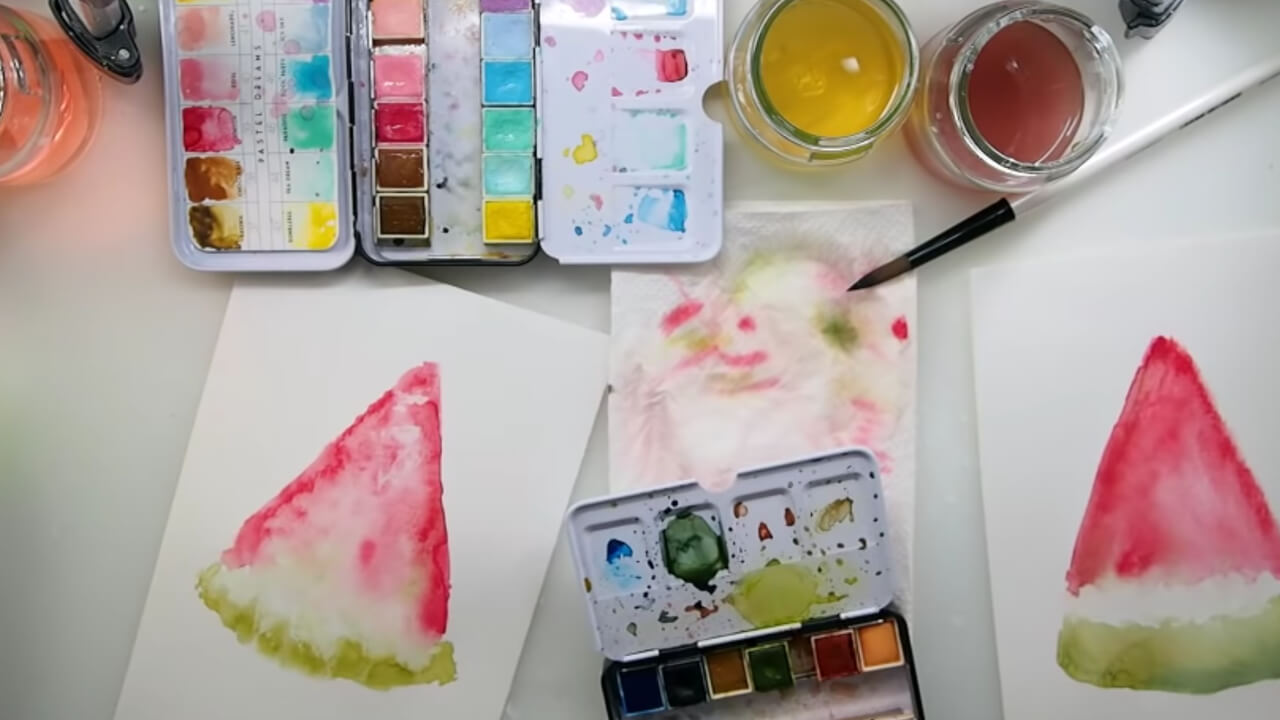
Watercolor paints offer lots of opportunities to create realistic and abstract art. Paint with a dry brush, use a wet on wet technique, or try different resists.
Children can use palettes with cake paints, tube paints, or even liquid watercolors. Cake paints come with their own palette; colors can be mixed on a plastic plate or on the cover of the palette. Tube paints require a palette with paint wells and a space for mixing colors (a plastic plate can be used in a pinch). Liquid watercolors should be poured into small cups.
To prevent the watercolor paper from wrinkling when it gets wet, use masking tape to tape all edges of the paper to a board or work table. Wait for the paint to dry before gently removing the tape. This also gives the painter a margin all around the paper so no part of the picture will disappear behind a mat.
Dry Brush Watercolor Technique
This technique is perfect when a lot of details are desired. Lightly sketch the image in pencil. The watercolor paint won’t cover dark pencil marks so keep the lines pale – they are just there to offer guidelines.
Wet the brush and then wipe it with a paper towel. The bristles should be damp but not dripping. Dip the tip of the bristles over the paint and work in the desired details. An entire painting can be done using a dry brush on dry paper or dry brush details can be added to a wet on wet painting after it has dried.
Wet on Wet Watercolor Technique
With a wide bristle brush, paint clear water over part of the paper. Using a wet brush, pick up color, and paint quickly over the wet paper. This technique doesn’t allow for detailed work. It is good for backgrounds or abstract paintings that highlight color combinations. After the paint and paper dry, details can be added using the dry brush technique.
Lifting Watercolor Paints
After the paints dry, wet a sponge brush and dab it over small areas of the image to absorb some of the paint. This technique lifts off some of the paint, creating highlights. Dab up some of the paint with a paper towel. The highlights will be lighter versions of the paint they won’t be white as with the resists.
Rubber Cement Resist Painting
In a resist, the material is applied to the paper that repels the watercolor paint from that part of the painting. In this case, use rubber cement. Lightly, with a pencil, sketch out the desired images on the paper. Select the parts of the images that will remain white and paint those areas with rubber cement. Allow the rubber cement to dry.
Now, paint the rest of the picture. When the paint and paper dry, rub the fingertip over the rubber cement. The protected areas will be white.
Crayon Resist Painting
In this resist, draw parts of the picture using crayon or oil pastels. Unlike the rubber cement resist, the crayon will remain after the watercolors are added. Draw the main parts of the picture with the crayon and use watercolor paints on the background. The crayon will repel the paints.
Watercolor Project
Brush water over the entire paper. Paint over the entire paper, allowing the colors to intermingle. Don’t work in any details. Lay plastic wrap over the paint. Wrinkled plastic wrap is perfect. The plastic wrap will print into the paper.
Allow the paint to dry completely – this will take longer than usual because of the plastic. Remove the plastic wrap and use a sponge brush to lift paint within some of the creases. Use colored pencils to define some of the creases.
Each time, when finished painting, allow cake paints to dry thoroughly before closing the cover. Tube paints can remain on a palette; let them dry out and store flat. When ready for the next project, just add water to the colors. Liquid watercolors can be poured into their original container. Explore these different types of watercolor paints or try watercolor pencils for more controlled effects.
